Ray Tracing
Ray tracing is one of those cool technologies that pop into my head about once a year. Not only are the results beautiful, it also lets the common geek show his competence at programming to the normal folk. I was hugely inspired by PixelMachine by SuperJer. His work taught me ray tracing sure isn’t rocket science and you can get astonishing results relatively easily.
Version 1
If I recall correctly I wrote my first raytracer in 2008. The engine was a bare proof-of-concept and purely based on triangles decorated with some very crude lighting and naive shadows. The scene was either described inline in the source code or by reading external Wavefront .obj files.
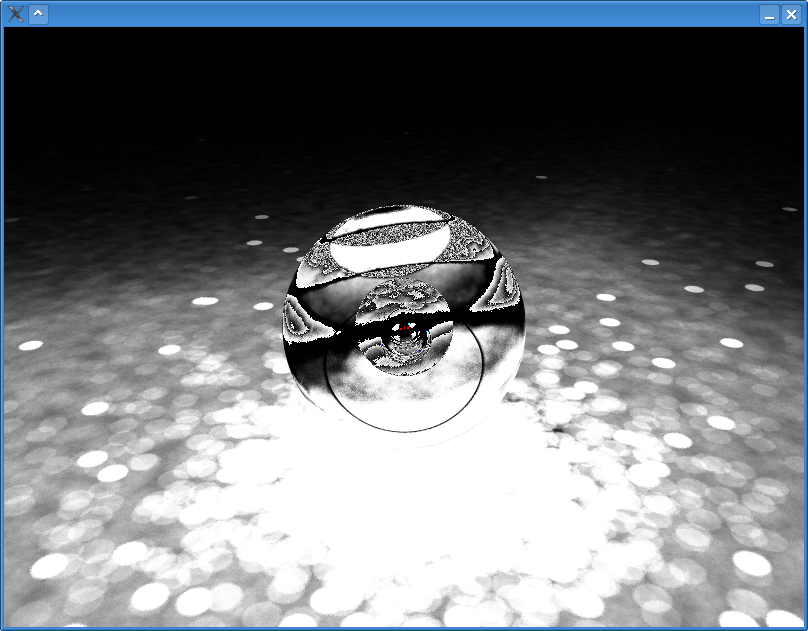
The first version, however, lacked a lot in features. I did implement reflective surfaces and alpha transparency, but it wasn’t that interesting as all the surfaces were planar. It was also written in a single threaded way – no way I could benefit from multi-core processors!


Version 2: CSG
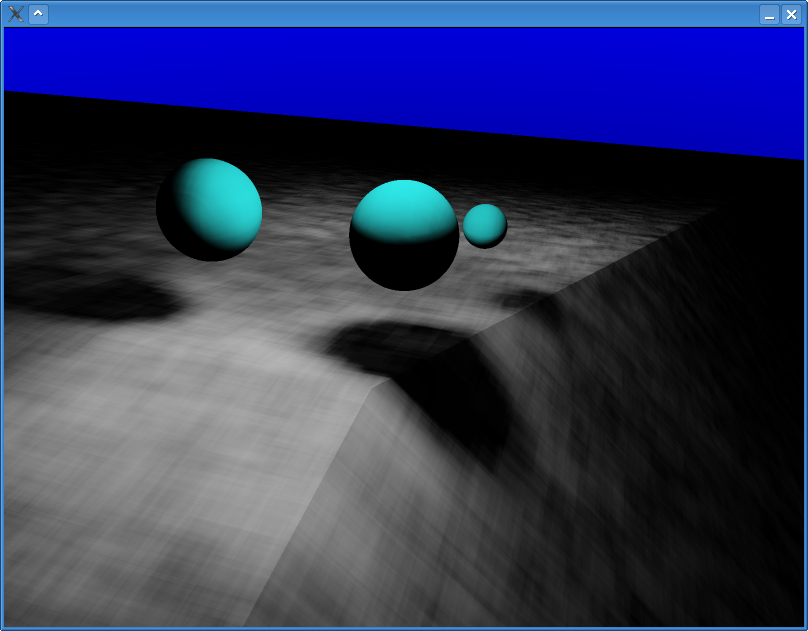
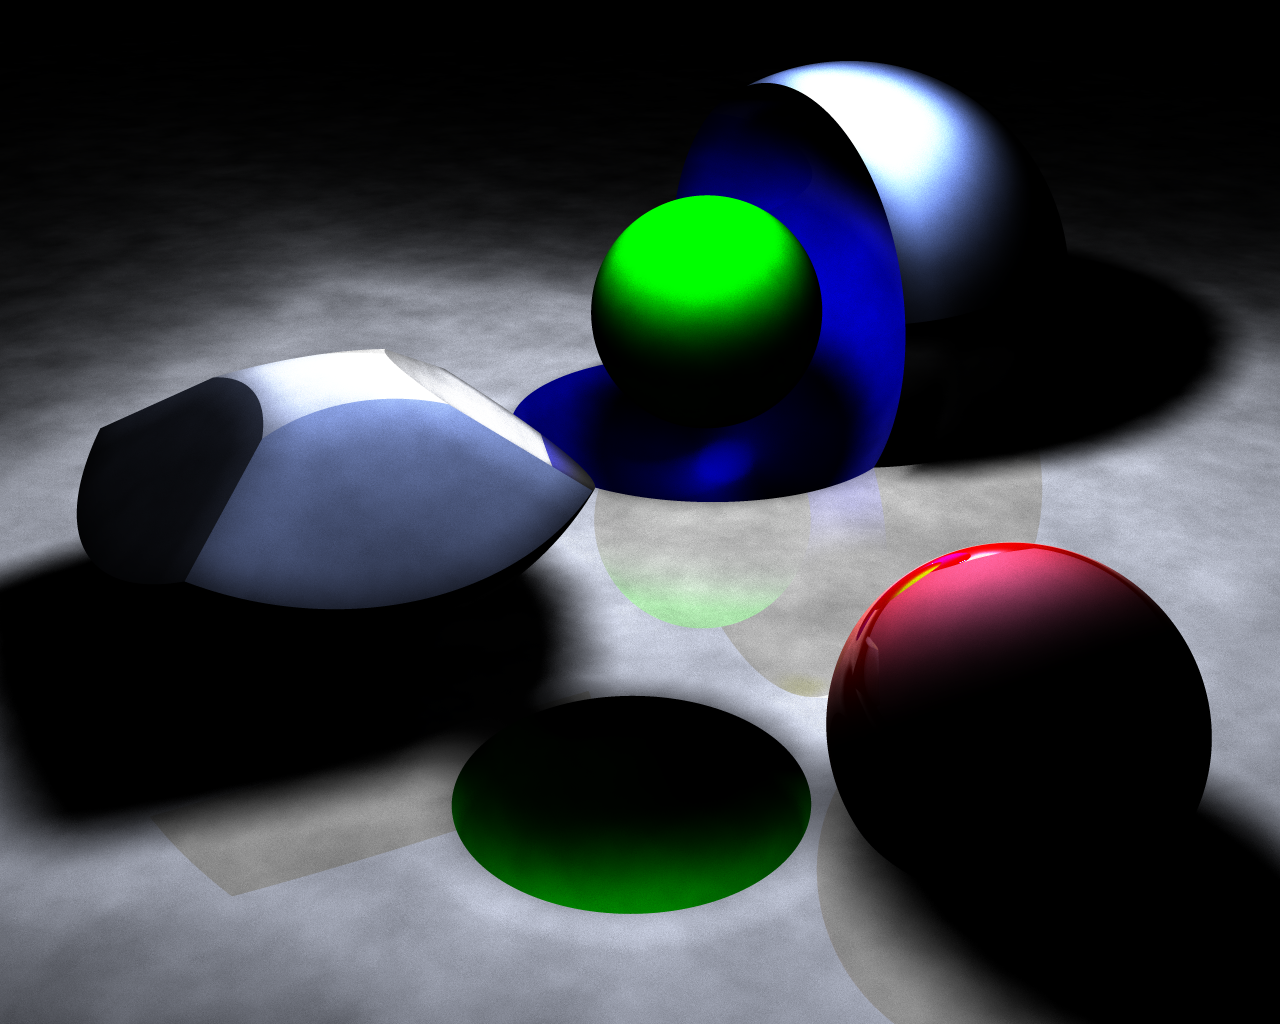
This time I took a different approach. The scene was loaded from an XML document that described the scene at hand using constructive solid geometry (CSG), where compex shapes are defined as unions, intersections and complements of primitive shapes. V2 also featured a proper multi-threading model.
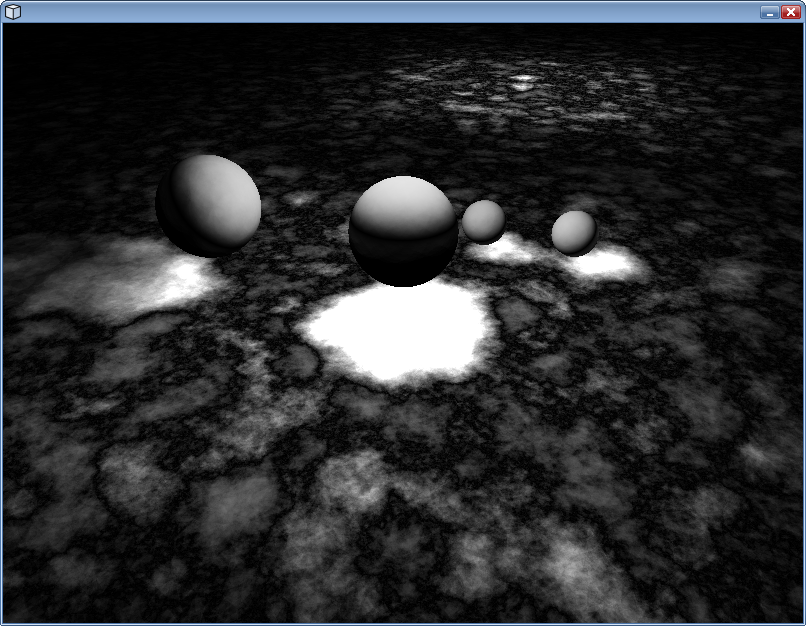
V2 was based on photon tracing so rendering consisted of two phases. In phase one we would randomly shoot a predefined amount (usually between 100k and 2 billion) of photons from all sources of light and let them reflect back and forth until the photon was 100% absorbed. For each surface reflection in phase two this ‘lighting map’ was used to calculate the illuminance.
I took advise from an article in Wikipedia. For spatial lookup of the photons I used a humongous kd-tree using a very nice C++ implementation I found.

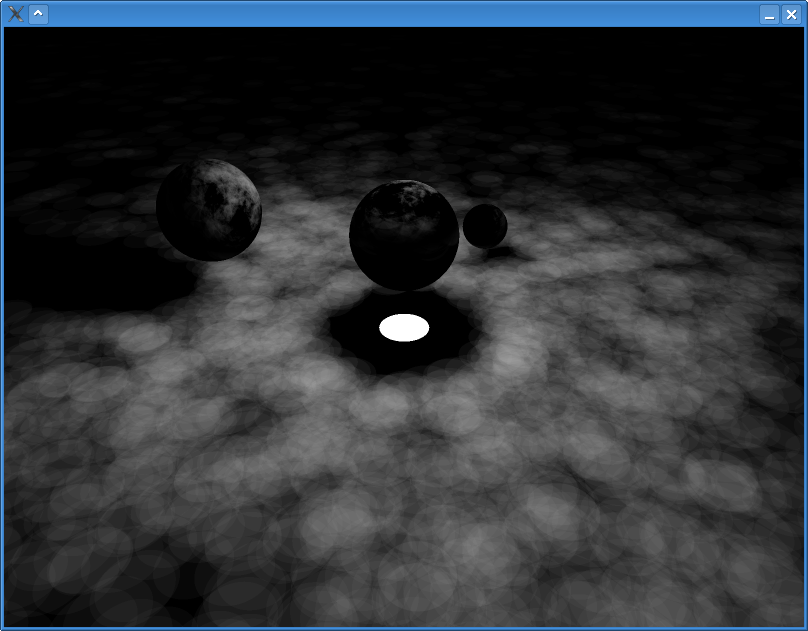


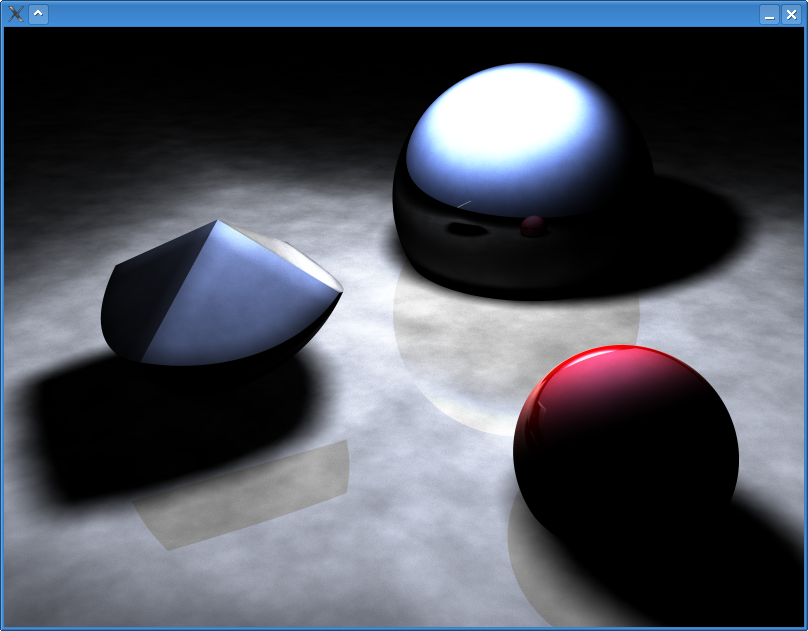
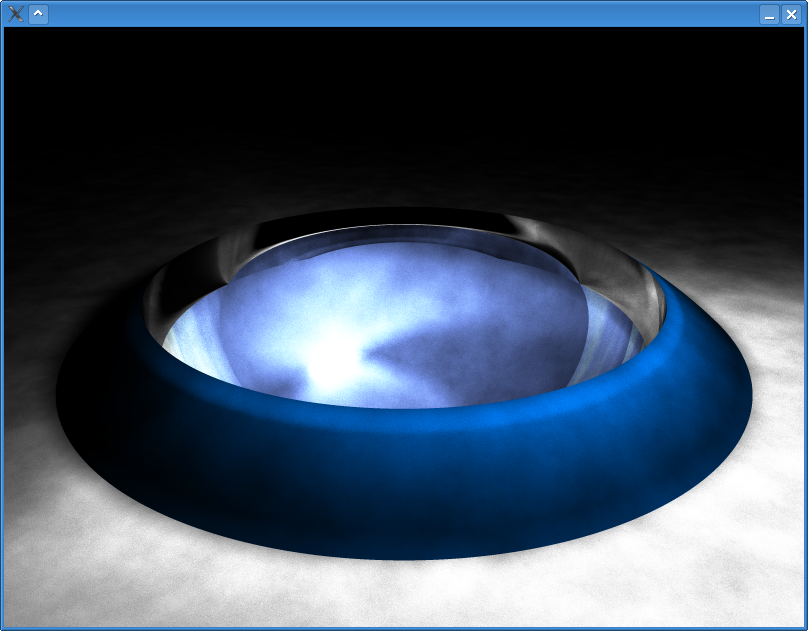
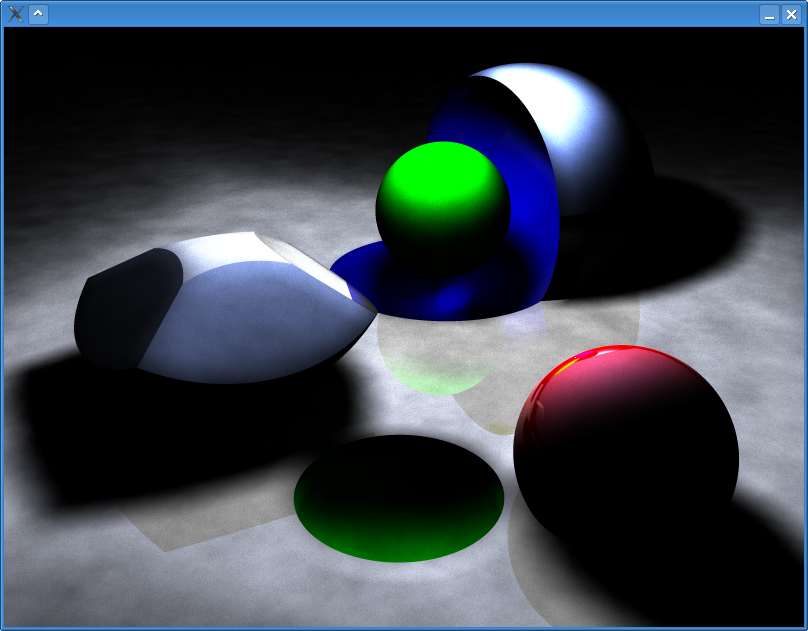
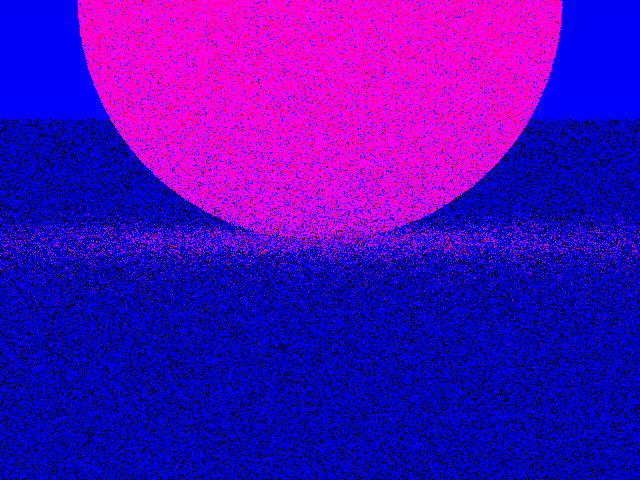
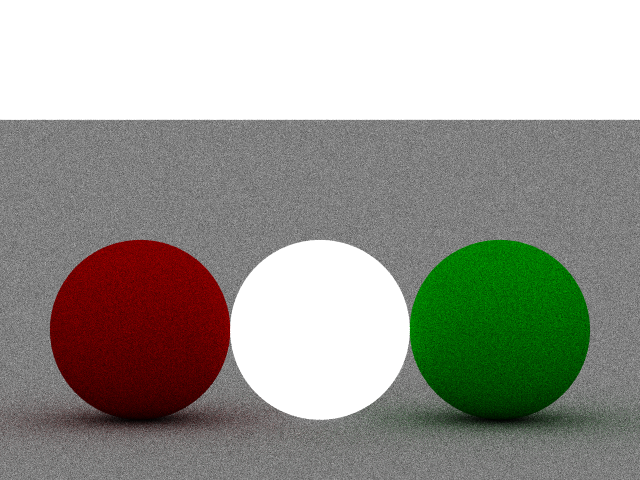
Version 3: Monte Carlo
Aren’t there any ultra-high-realism algorithms that I could use to waste all this processing power?
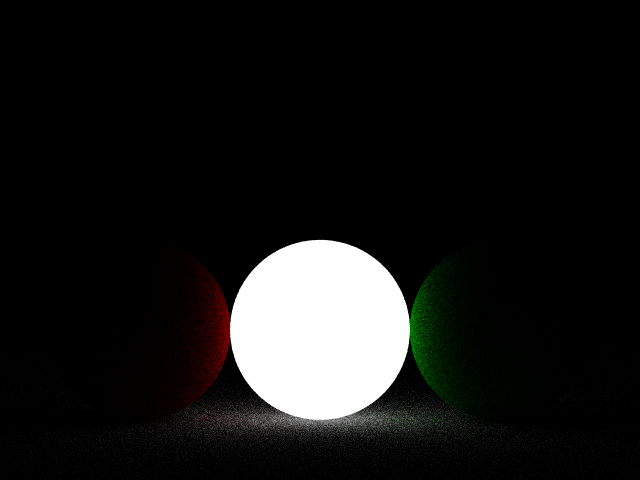
Path tracing. Photo-grade realism with a simple to understand algorithm.
The idea in nutshell is to shoot rays from the camera and let them bounce randomly in the scene until the ray escapes the scene or hits a light. This makes especially indoor scenes extremely slow to render as the ray might bounce thousands of times before reaching a light.
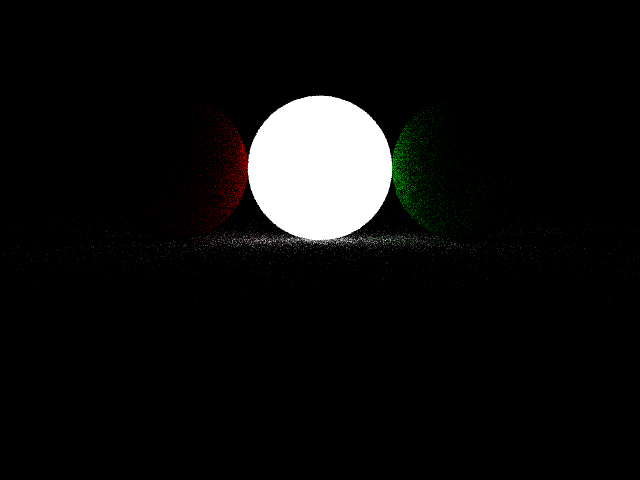
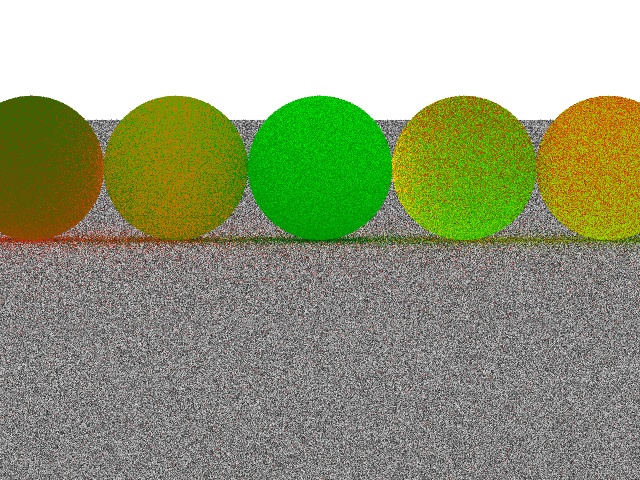
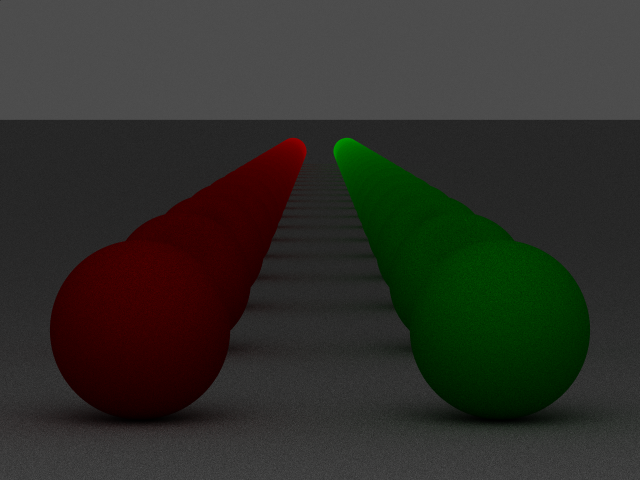
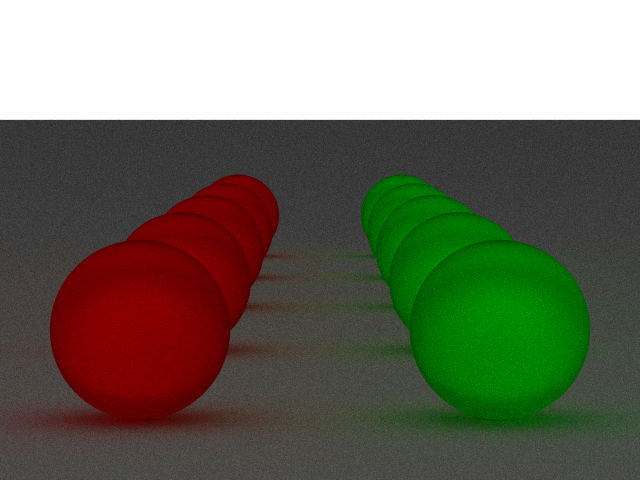
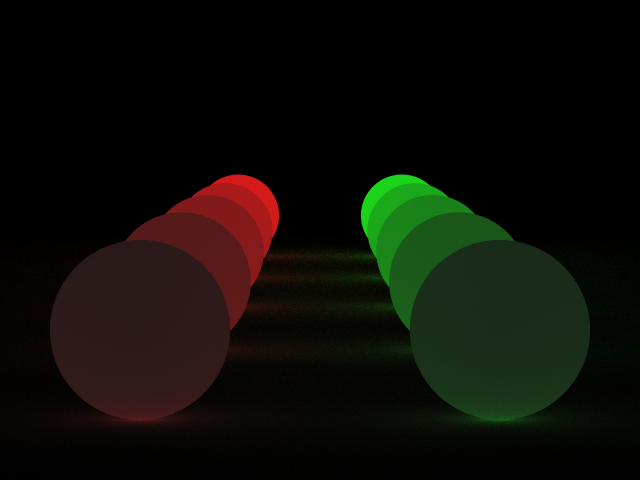
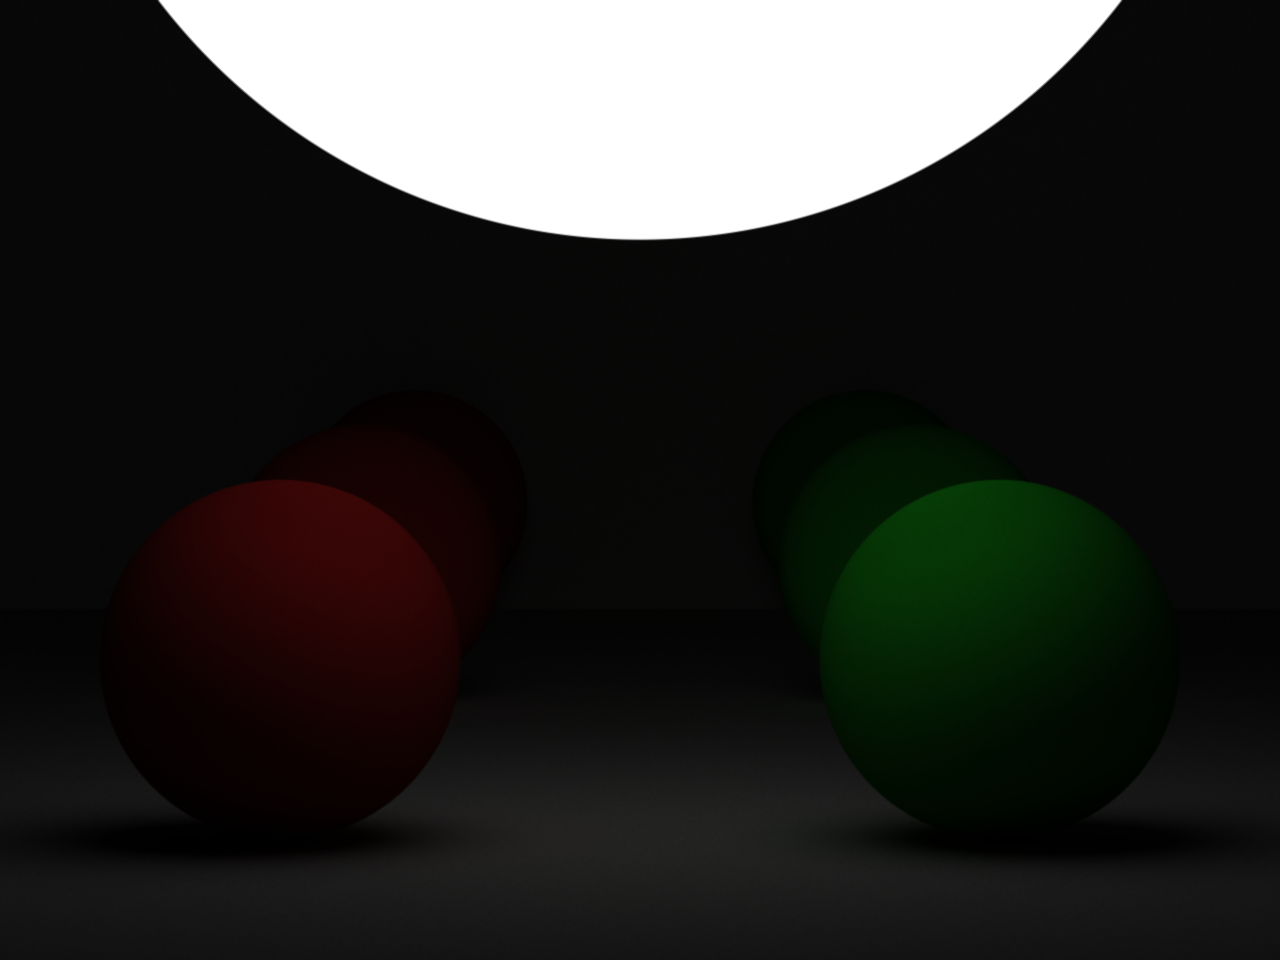
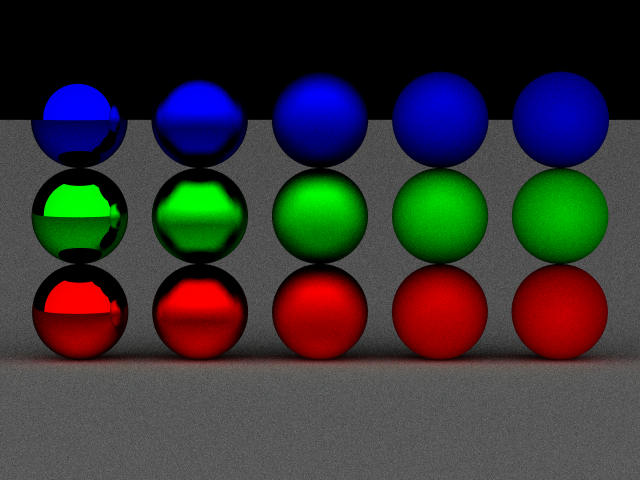
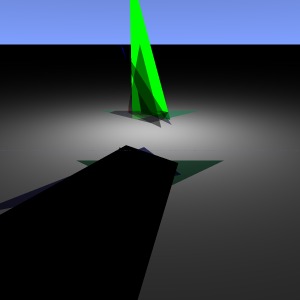
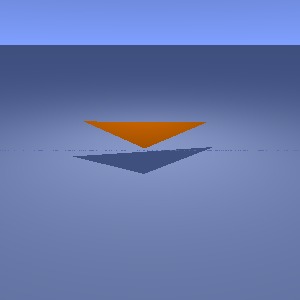
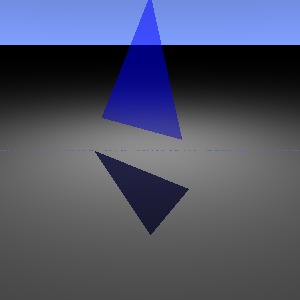
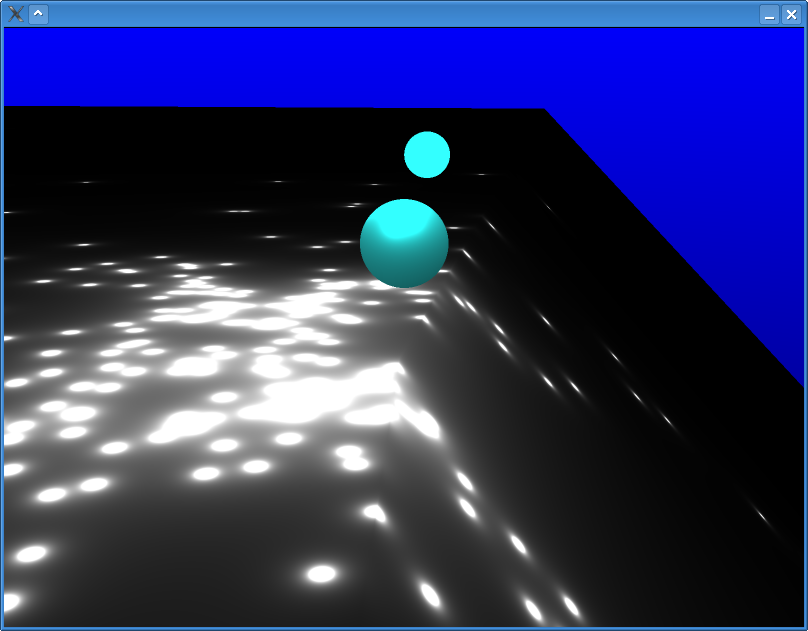
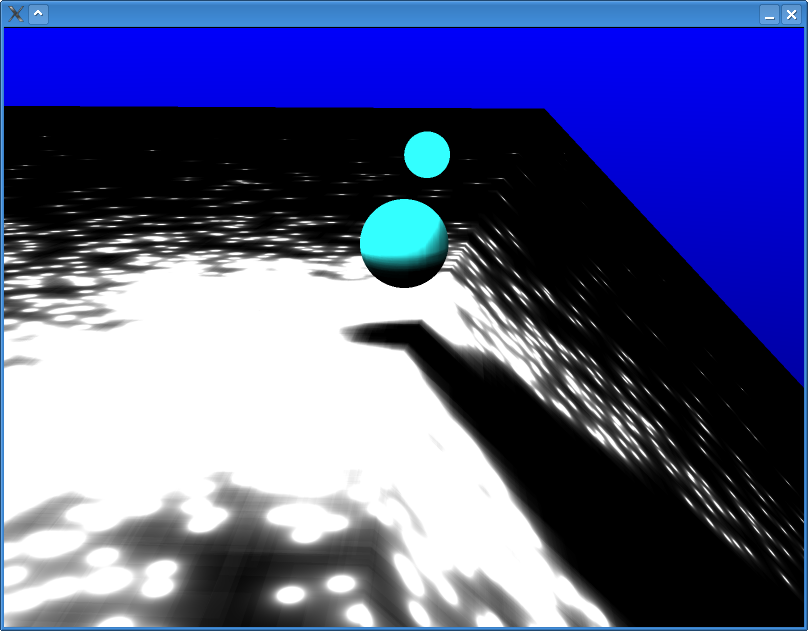
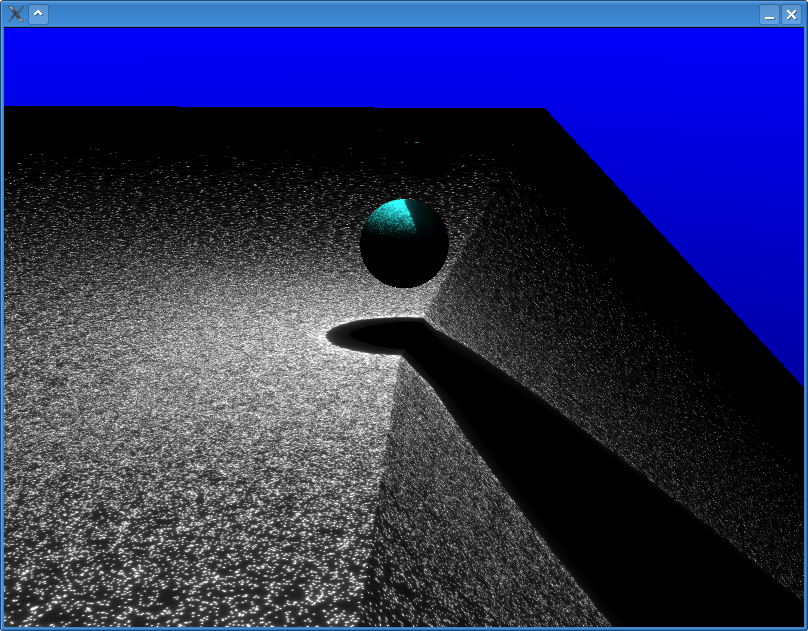
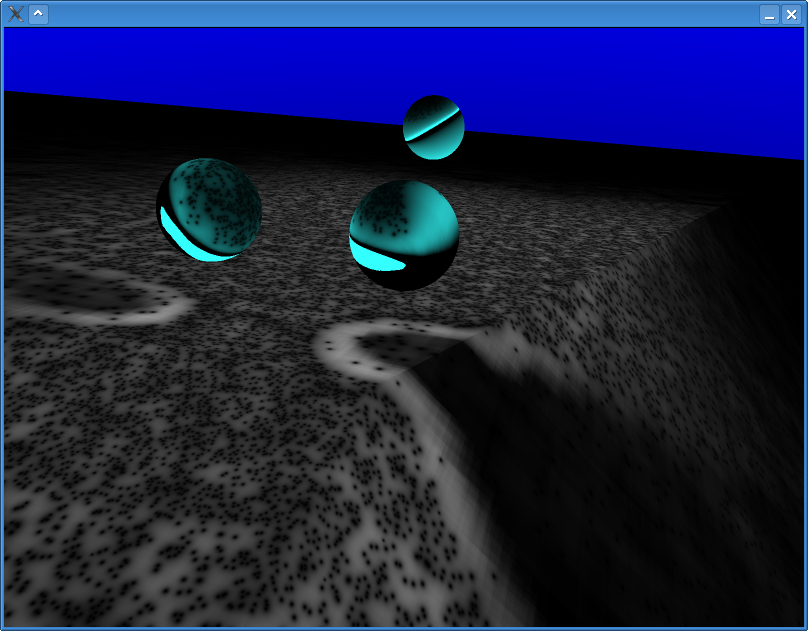
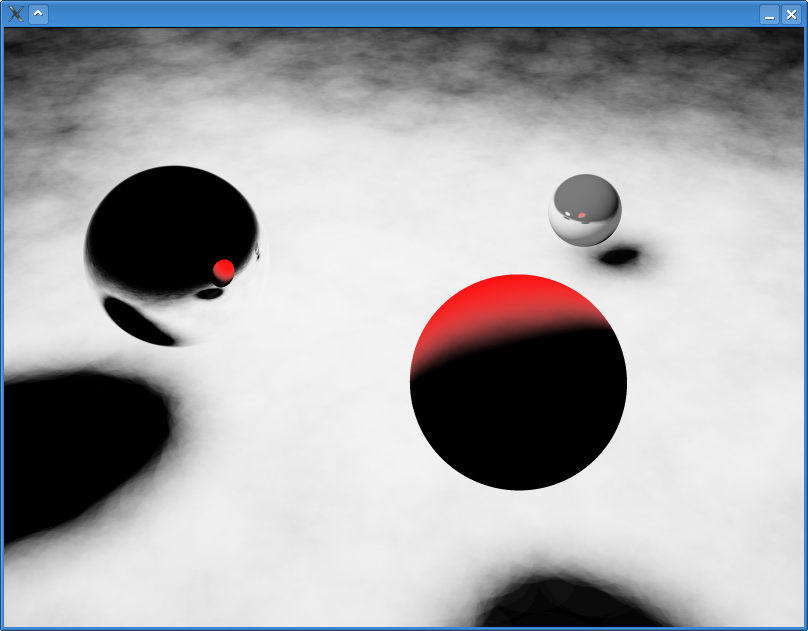
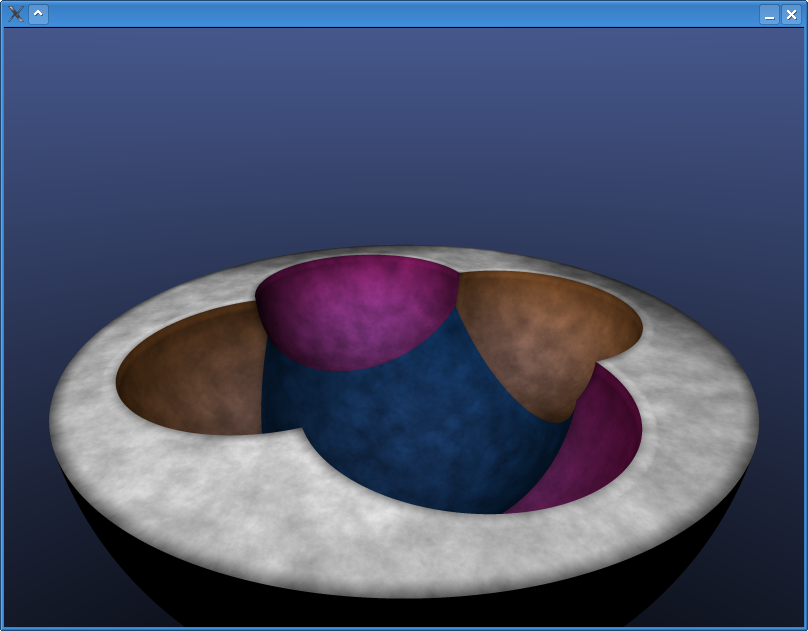
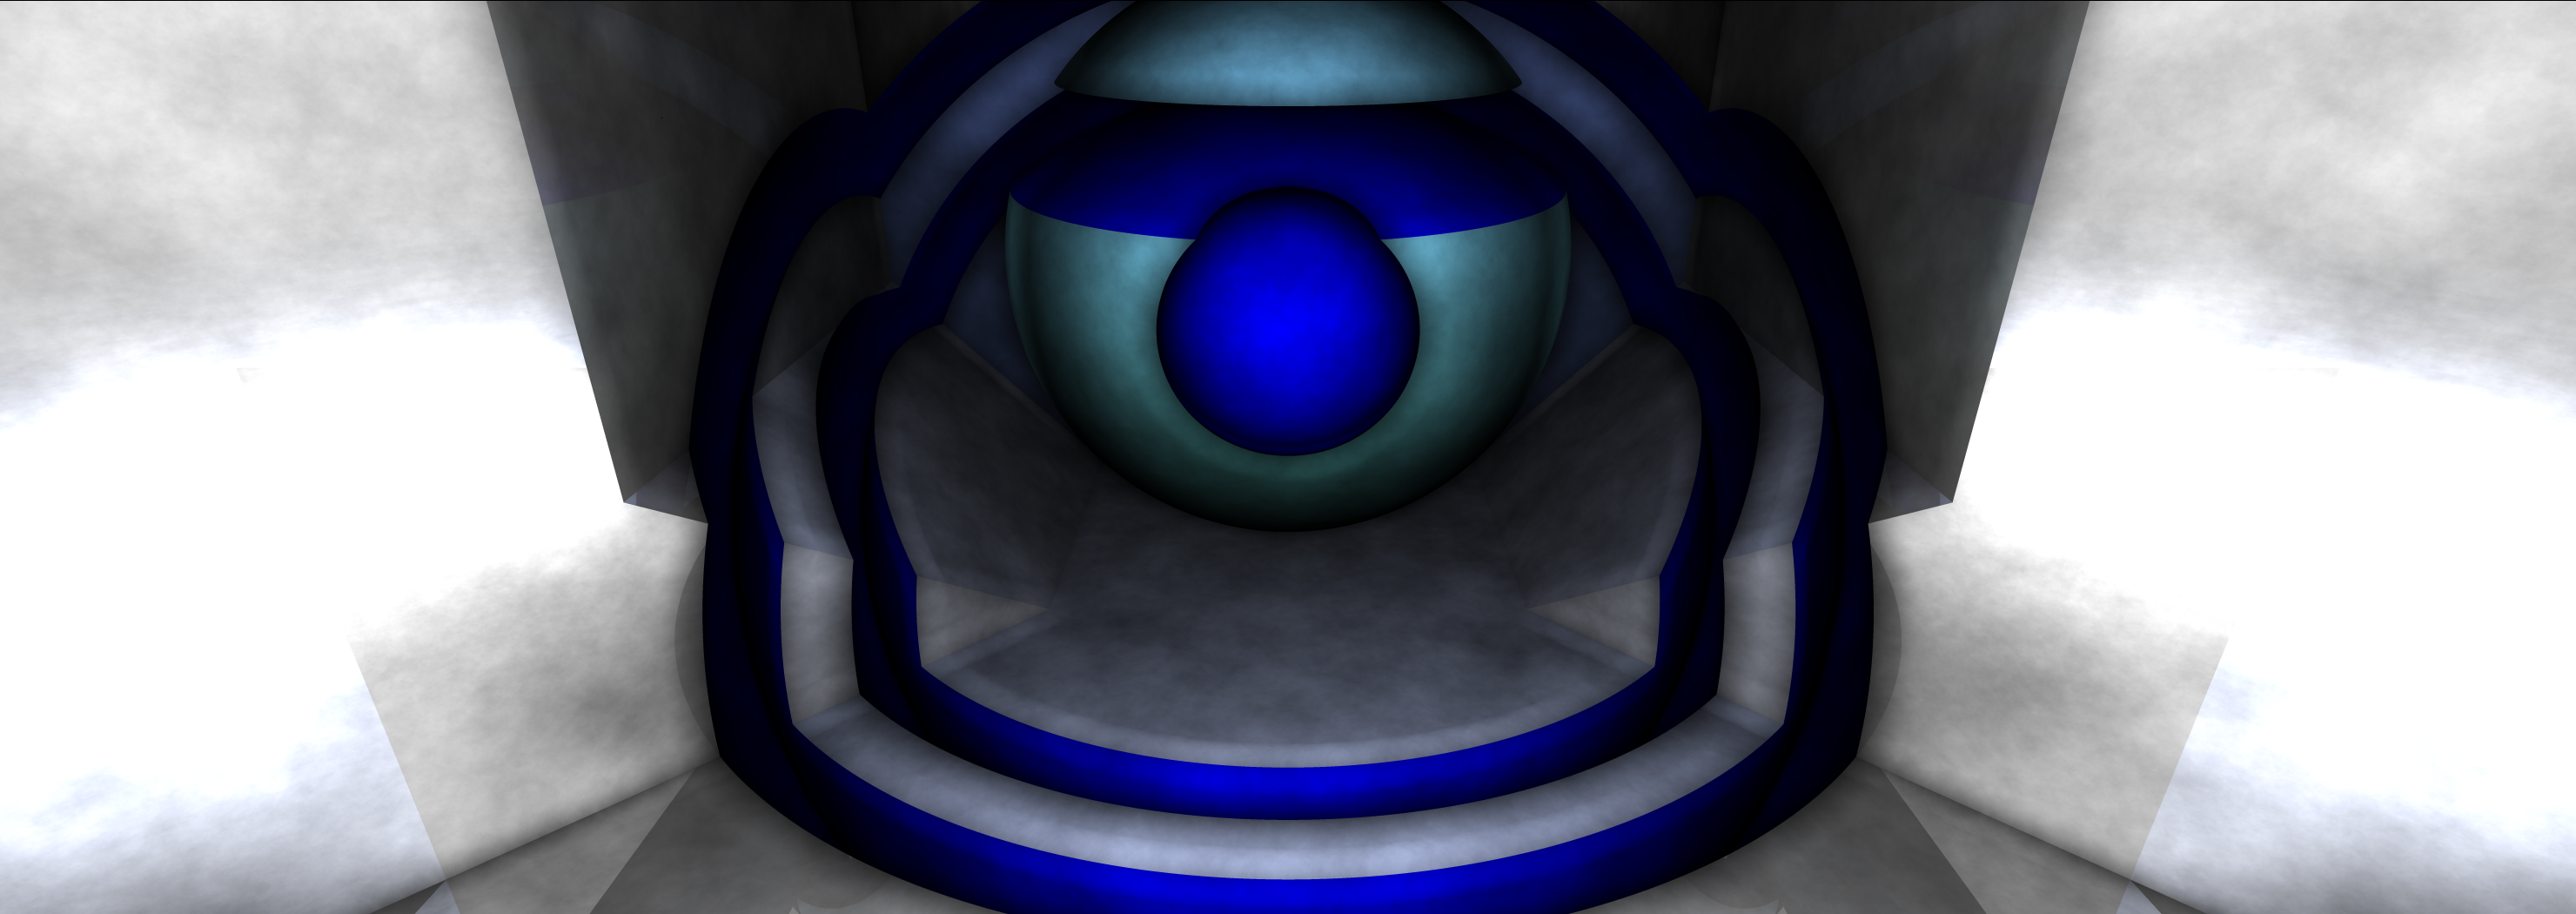
I also introduced a new surface parameter called roughness. Its a value between 0 and 1 describing the reflective properties of the surface. If roughness is 1, ray is let to bounce in random directions. If its 0, the surface is a perfect mirror. Other values linearly blend between these two extremes. Roughness is best illustrated in the last picture where it changes from 0 on the left to 1 on the right.
Its the slowest algorithm there is, but it approximates the rendering equation pretty nicely.
This time I embedded Google’s powerful V8 JavaScript engine and described the scene in JS. I could programmatically preprocess the scene with simple JavaScript operations such as
scene.push({type: 'sphere', position: [1,2,3], radius: 1});